Puzzle Corner

How to solve the mirror cube

Same moves as a 3×3, different senses: you solve this one by shape, not colour.

Watch

Dr. Okolie solves the mirror cube

Watch Dr. Okolie solve a mirror cube. Every face is silver, so the pieces are told apart by their size and shape rather than colour.

The clip plays silently; tap the speaker icon to hear the music. Background music: an original track made for this site.

Step 1

Understand the pieces

The mirror cube is a 3×3 in disguise. Inside, it turns exactly like a Rubik's cube, but every layer is cut at a different thickness and all faces have the same mirror finish. Instead of colours, you identify pieces by their size and shape.

Like the 3×3, there are six centres, twelve edges and eight corners, and the centres never move relative to each other. A piece is solved when its outer surfaces sit flush with its neighbours.
Solved: a perfect cube again
Step 2

Pick your "white" face

Choose one face to solve first. A face whose centre is easy to recognise, such as the thinnest one, is a good choice. Build a cross on that face: find the four edges whose height matches the face's centre and line each one up so both of its surfaces are flush with the centres it touches.

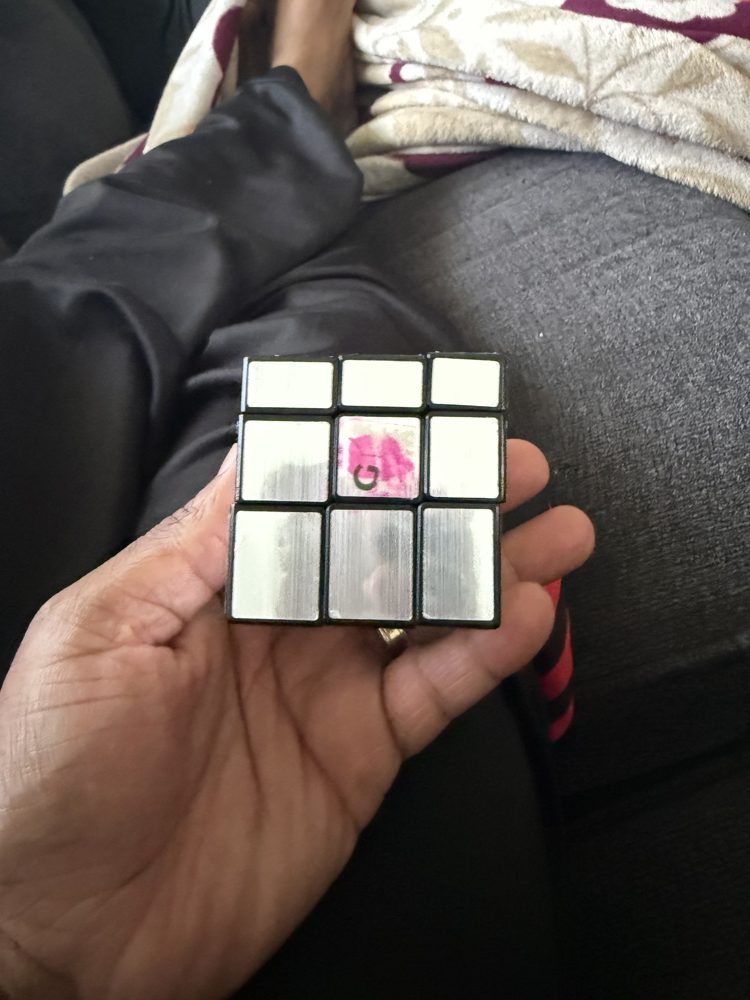
A mirror cube face with a pen mark on the centre
Tip: a small pen mark on one centre helps you find your starting face again
Step 3

Follow the 3×3 method

From here, follow the 3×3 tutorial step by step, using the same algorithms. Wherever it says "match the colours", match the heights instead:

  • Corners and middle layer: a corner or edge belongs in a slot when all of its surfaces line up flush with the centres around it.
  • Last layer: the yellow-cross, edge and corner steps work the same way (F R U R' U' F', R U R' U R U2 R' U, U R U' L' U R' U' L, R' D' R D).
  • Run your fingers over it: feel for steps along each face. A flat face with no ledges means that layer is solved.
Step 4

Tips

  • Learn the 3×3 first. It's much easier to recognise a stage you have already seen in colour.
  • Work in good light and turn the cube to catch reflections; edges stand out better from an angle.
  • Your last layer is the face opposite the one you started with. Remember which it is before you begin.

Want a hand?

Dr. Okolie offers personalised tutorials, and can send you a cube to practise on. Tell us which puzzle you are learning and where you are stuck.